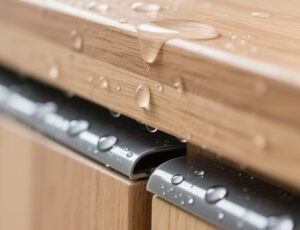
Edges that don’t match panels ruin the look. I see clients lose sales when colors do not match. I will show a clear process to avoid that.
Color matching needs a clear workflow: measure the board, request a measured sample, set ∆E and gloss tolerances, and run an on-site proof before full orders.
I will walk you step by step. You will get tools, numbers, and checks to use with suppliers. These steps save time and cut returns.
Understanding the Importance of Color Matching in Edge Banding?
Mismatched edges make a furniture piece look cheap. That drives returns and damages your brand. I explain why this matching matters for distributors.
Perfect matching improves perceived quality. It lowers returns. It builds trust with clients and woodworkers.
Dive deeper: visual impact, commercial cost, and why edges fail to match
Color and texture send the first message about quality. I see buyers decide in seconds. A panel with a wrong edge looks like a poor fit. The buyer thinks the whole product is low quality. That hurts brand reputation.
There are ways colors fail to match. One is batch variation. Boards and edges may come from different suppliers. They use different pigments or processes. Another is finish type. A matte board will look different from a gloss edge even if the numbers say they match. Lighting is another factor. Two samples can match under one light and drift under another. This is called metamerism. You must test under the same light sources your customer uses. Industry practice is to use D65 for standard evaluation.
Cost is practical. Returns add freight, rework, and time. Distributors face penalties and lost trust. A simple sample test can stop this. I always ask suppliers for measured data, not just photos. Numbers tell a clear story. A spectrophotometer reading and a gloss meter value help me judge true matchability. I learned this the hard way when a big order came back because the edge looked darker after gluing. Since then I require on-site proofs before any bulk run.
| Why it matters | Impact on business | My simple check |
|---|---|---|
| Visual mismatch | Returns and lost reputation | Ask for Lab and gloss values |
| Metamerism | Looks different under store lights | Test under D65 and store light |
| Batch drift | Different runs look off | Request production tolerances |
I stop orders that lack measurement data. I prefer suppliers who can show spectral curves, not just color names. That saves weeks and stops returns.
Key Factors Affecting Color Matching Between Edge Banding and MDF/Particle Board?
Many things change the look. You must control material, finish, lighting, and measurement. I list the critical factors and what to check.
The main drivers are: material composition, surface finish (gloss/texture), lighting (metamerism), and production tolerances. Each needs a numeric check.

Dive deeper: material science, gloss vs. texture, and metamerism explained
Material matters. MDF, particle board, and veneer absorb light in different ways. Their sheen and texture change perceived color. ABS, PVC, and other tape materials reflect light differently. Even the same pigment can look different on vinyl than on laminate. That is why asking for a matched edge from the board maker often works best. Some board makers provide matching edge lines to avoid this problem.
Finish is next. Gloss shifts perceived color. A glossy surface reflects more light. It makes a color look lighter and richer. A matte surface scatters light. It looks more muted. So you must match both color and gloss. Use a gloss meter at 60° or 85° depending on finish type. Also match texture. An embossed woodgrain creates shadows. Those shadows change how we see color. Synchronized pore embossing is common for accurate wood effects.
Lighting is critical. Metamerism happens when two surfaces match under one light but not under another. I test under D65 daylight, warm LED, and typical store light. If the two samples look different under common customer lights, you have a metameric failure. Ask the supplier to run spectral data and to test under multiple lights.
Measurement method finishes the list. Use a spectrophotometer and CIEDE2000 (∆E2000) to quantify difference. Industry practice often accepts ∆E ≤ 2–3 for commercial projects. High-end projects need ∆E ≤ 1–2. Ask for the formula used and the instrument type. Sphere geometry (d/8 or diffuse) works better for textured surfaces. X-Rite and other makers explain which instrument suits which surface.
| Factor | Why it matters | What I ask suppliers |
|---|---|---|
| Material type | Reflectance changes | Show material spec and TDS |
| Finish (gloss) | Changes perceived shade | Provide gloss meter reading |
| Texture | Alters light scattering | Provide emboss sample |
| Lighting | Metamerism risk | Provide spectral data under D65 |
| Measurement method | Precision of data | Provide device and ∆E method |
Control these five factors to avoid surprises. I insist on material samples, spectral files, and proof panels before I accept a run.
Methods for Achieving Accurate Color Matching Between Edge Banding and Boards?
You need a practical workflow. Measure, request proofs, set tolerances, and run on-site tests. I give step-by-step actions you can use with any supplier.
Use spectrophotometers, set ∆E targets, check gloss, test under multiple lights, and demand synchronized emboss proofs for wood decors.
Dive deeper: step-by-step workflow, tools, and pass/fail criteria
Step 1 — Define reference. I always start with the real board sample the customer will use. I measure Lab using a benchtop or portable spectrophotometer. I note gloss at the proper angle. I photograph the sample under D65 and store light.
Step 2 — Send a measured sample request to the edge supplier. I ask them to compound and extrude a sample roll. I request the spectral data and Lab for the extruded sample. I also request a gloss reading and a photo under the same light.
Step 3 — Compare. I compute ∆E using CIEDE2000. I compare gloss values. My rule: ∆E ≤ 3 is acceptable for most commercial use. For premium furniture I accept ∆E ≤ 2 or better. I accept gloss within ±5 gloss units. If the sample exceeds tolerances, I ask the supplier to adjust pigments or finish.
Step 4 — Test in-process. I glue the sample edge to a small panel. I cure the adhesive and then measure again. Some adhesives change color slightly. I trim and check the texture. If embossing crushes or texture flattens, the match can fail visually.
Step 5 — On-site proof. I install a small run or mockup under store lights. I walk the piece to natural daylight. This final check catches metamerism and any shift after processing.
Tools I use:
- Portable spectrophotometer (for field checks).
- Benchtop unit for lab-level control.
- Gloss meter (60° or 85°).
- Light box with D65 and warm LED settings.
| Step | Tool | Target |
|---|---|---|
| Measure reference | Spectrophotometer | Lab values |
| Request sample | Supplier extruded roll | Spectral file + gloss |
| Compare | Software (∆E2000) | ∆E ≤ 2–3 |
| Adhesive test | On-site glue test | No visible shift |
| Proof | Light box + daylight | Visual approval |
I keep all spectral files and proof photos. They serve as a spec for future runs. I also ask for batch tolerances in writing. This helps claim nonconformance if a future roll deviates.
How to Choose the Right Edge Banding Materials for Perfect Color Matching?
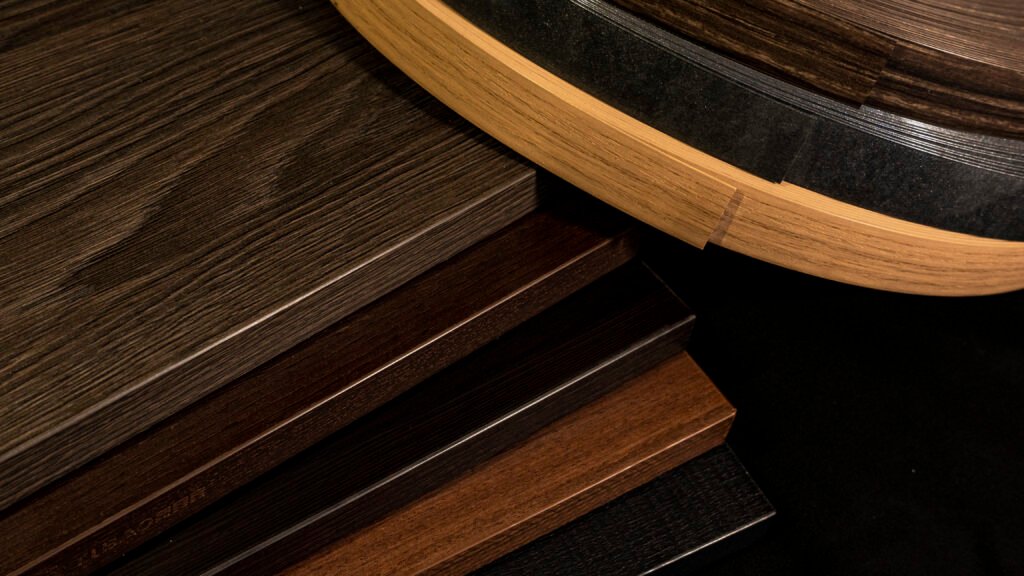
Material choice affects matchability. Choose a material that takes pigment like the board or choose a matching supplier line. I list rules for material selection and supplier questions.
Pick materials with similar reflectance and surface finish. Use supplier systems that offer coordinated decors from board makers when possible.

Dive deeper: material rules, supplier selection checklist, and sample policies
Material rule one: match the optical properties. Vinyl and laminate reflect light differently. If the board is a laminate or TFL, prefer a matching edgeband from the same decor system. Many panel makers publish decor match systems that include edges. Using those systems reduces risk.
Rule two: know the pigment method. Some suppliers print the decor onto the tape. Others compound color into the base resin before extrusion. Compound color gives better long-term stability. Printed decors can match visuals but may shift with wear.
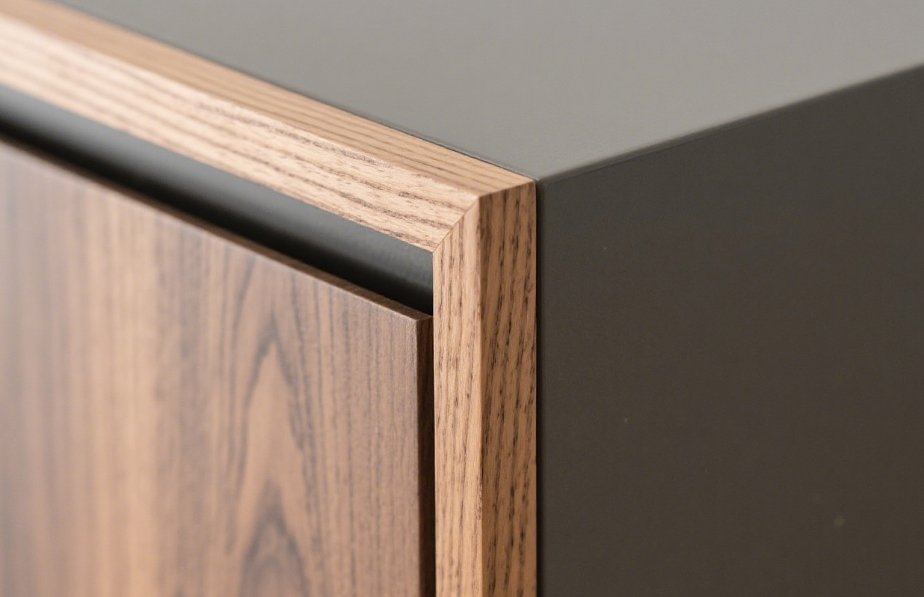
Rule three: texture match matters. For wood effects, use synchronized pore embossing. This makes the grain and pore line up with the panel. Suppliers who offer synchronized emboss and matched gloss will give better final results.
Supplier checklist I use:
- Do you offer a decor match to my board brand? (Egger, Kronospan, etc.)
- Will you provide spectral data and gloss readings for the sample?
- Do you offer synchronized emboss for wood decors?
- What is your batch tolerance for color (∆E) and gloss?
- Can you run a short press proof before full order?
| Material choice | Benefit | Question to ask |
|---|---|---|
| Matching decor system | Lowest risk | Do you stock the decor? |
| Compounded color | Stable color | Is color in the base resin? |
| Printed decor | Visual flexibility | How stable is the ink? |
| Synchronized pore | Better wood match | Can you show proof? |
I prefer suppliers who can provide matching edge lines to the board maker. That link often avoids long back-and-forth. If not available, I insist on measured proofs and a short trial run.
The Role of Color Samples and Testing in Edge Banding Color Matching?
Samples are not optional. They are the contract. I explain what samples should include and how to test them.
A good sample package contains a roll sample, spectral data, gloss reading, emboss proof, and an on-site glued mockup. Test each under D65 and store lighting.

Dive deeper: sample types, testing protocol, and acceptance paperwork
Type A sample: extruded roll with spectral file and Lab values. The spectral file is raw data from the spectrophotometer. It allows you to compare on your side without re-measuring.
Type B sample: printed or laminated proof with gloss reading. This shows the visual look and the sheen.
Type C sample: synchronized pore emboss proof for wood decors. It shows the tactile feel and the pore alignment.
Testing protocol I use:
- Unpack the sample in a neutral room.
- Measure Lab with a calibrated spectrophotometer.
- Measure gloss. Use the same instrument angle as the supplier.
- Glue the edge to a panel using the intended adhesive. Let cure.
- Re-measure Lab and gloss. Note any shift.
- Inspect under D65 and warm LED. Take photos.
- Record ∆E, gloss change, and visual notes in a sample report.
Acceptance paperwork should state:
- The ∆E tolerance (e.g., ∆E2000 ≤ 3).
- The allowed gloss variance.
- The approval method (signed sample photo or lab report).
- The consequence for out-of-spec batches (rework or refund).
| Sample type | Test | Pass criteria |
|---|---|---|
| Extruded roll | Spectral + gloss | ∆E ≤ 2–3, gloss ±5 |
| Glued mockup | Post-glue re-measure | No visible shift |
| Emboss proof | Visual pore sync | Visual approval |
| Lighting test | D65 + warm LED | No metameric fail |
I archive sample reports. They act as the spec for future runs. When a batch fails later, I use the sample report to claim nonconformance. Suppliers know this. It pushes them to run better controls.
Conclusion
Measure, demand proofs, set numeric tolerances, and always run an on-site mockup before full orders.
Data sources and links
- X-Rite — Guide to choosing the right tolerancing method and using spectrophotometers. https://www.xrite.com/-/media/xrite/files/whitepaper_pdfs/l10-546_guide_to_choosing_the_right_tolerancing_method/l10-546_guide_to_choosing_color_tolerance_en.pdf. (xrite.com)
- X-Rite — Benchtop spectrophotometers product info. https://www.xrite.com/categories/benchtop-spectrophotometers. (xrite.com)
- EGGER — Decor Match System and edge banding coordination. https://www.egger.com/en/decorative-collection/decor-match-system. (egger.com)
- Mobelkant — Metamerism in edgebanding and lighting effects. https://www.mobelkant.com/en/understanding-the-metamerism-effect-in-edgebanding-why-colors-may-look-different/. (mobelkant.com)
- Global Graphics — Delta E overview and industry tolerance guidance. https://blog.globalgraphics.com/everything-you-need-to-know-about-color-delta-e/. (blog.globalgraphics.com)