

I lost a showroom sale once because the edge looked off. I fixed that by making color matching repeatable. (PAS)
Color matching in PVC edge banding means measuring, specifying, and proving that the edge and panel read the same to the eye. I use instruments, samples, and tolerances so clients get predictable results.
A reliable color workflow saves time and claims. Read on and I will walk you through what matters, what tools I use, and how I avoid the common traps.
What Is Color Matching in PVC Edge Banding and Why It Matters for Modern Furniture?
A buyer once rejected a full delivery because the edge looked like a different product. I felt the cost. (PAS)
Color matching is matching color, gloss, and texture between the board and the edge so that assembled parts read as one surface. For modern furniture, tight matches are expected. I make color matching part of every quote and order.
Dive deeper: definitions, why it’s business-critical, and the basic metrics I use
Color matching is both art and measurement. Visually, people expect continuity across surface and edge. Practically, I measure color with CIE Lab* values and report ΔE to say how close two readings are. ΔE shows the perceptual difference between two colors. I prefer the CIEDE2000 method because it aligns better with human perception for small differences. Using the right ΔE method gives us an objective pass/fail number that both sides accept.
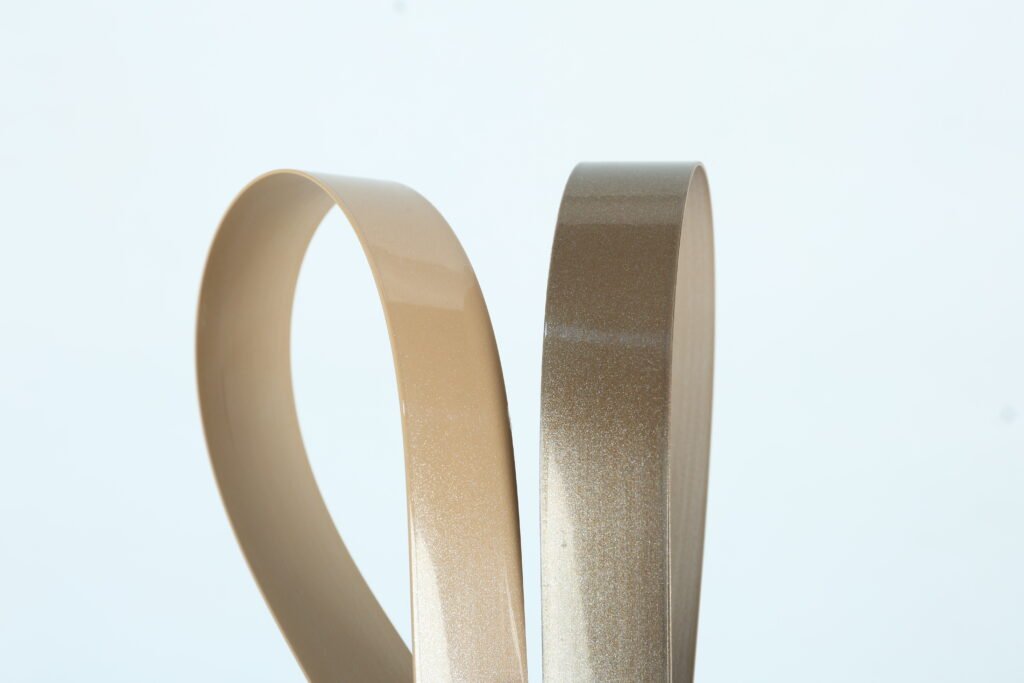
I also match gloss and texture. Gloss is measured in gloss units (GU) at standard angles like 60°. Texture affects light scattering and perceived color. If you match only color but ignore gloss and texture, the edge can still “pop” as different. I require a small assembled proof for every new decor or new supplier to confirm all three variables together.
From a business view, the payoff is clear. Good matching reduces on-site rejections. It shortens approval cycles. It builds trust with brands and designers. I track claims and first-pass acceptance as KPIs. When we tightened tolerances and added assembled proofs, our claim rate dropped measurably. For technical background on color systems and tolerancing, X-Rite and technical literature are my go-to references.
How Color, Texture, and Gloss Work Together to Create Visual Harmony?
A smooth matte board with a shiny edge always looks wrong. I found that out the hard way. (PAS)
Color, texture, and gloss interact. They change how humans perceive color and continuity. I always test the three together under target lighting.
Dive deeper: perceptual interactions, measurement, and an assembly-first mindset
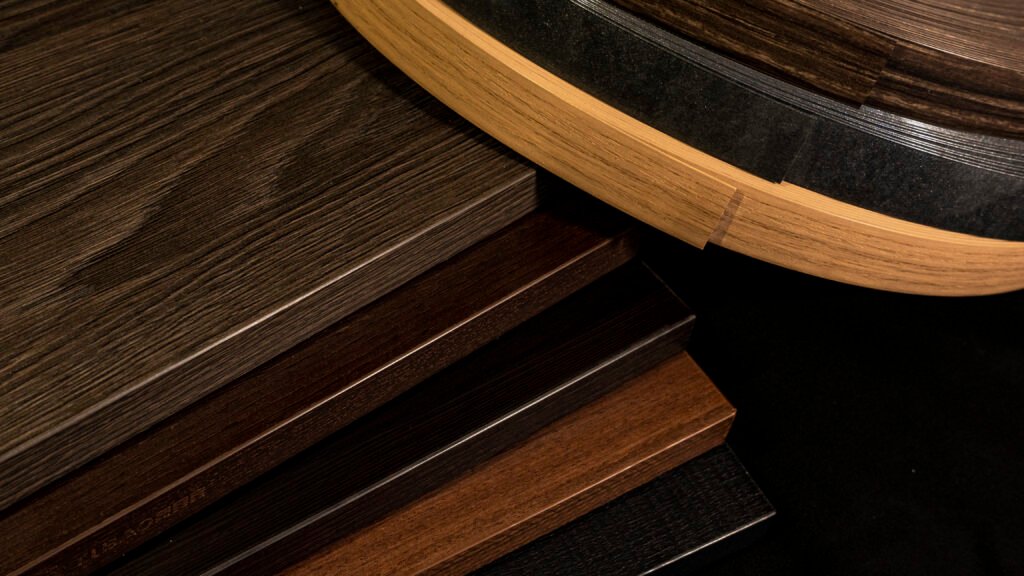
Color is not seen alone. The same pigment looks different on a shiny surface than on a textured surface. Texture scatters light. Gloss controls specular reflection. Together they change hue, chroma, and lightness perceptions. That means a Lab match on a smooth panel does not guarantee a match on a textured edge. I therefore measure and specify all three.
Measurement approach I use
- Color: CIE Lab* with CIEDE2000 ΔE reporting. This gives a perceptual metric. I save Lab targets in our sample passport.
- Gloss: GU at 60° (and 20° for very high gloss). I record the GU for both board and edge. I add a ±GU tolerance on specs.
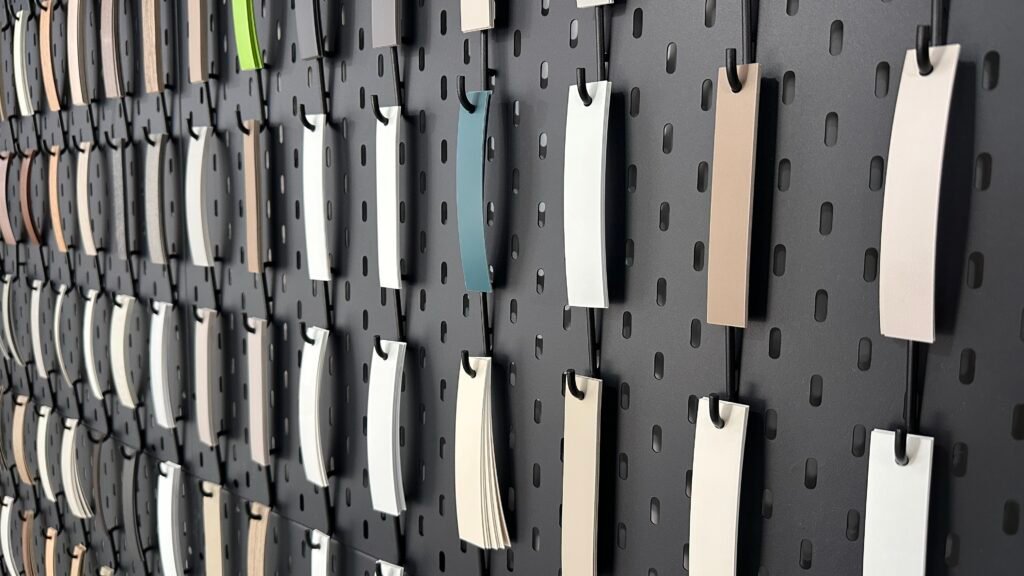
- Texture: descriptor and embossed depth. I use standard texture names (e.g., “supermatt oak,” “silk grain”) and attach a photo of the assembled proof.
Why assembled proofs matter
I assemble the edge onto the exact board sample and view the combined piece under the client’s intended lighting where possible. This step reveals metamerism and how texture hides or reveals differences. If the proof passes visual and instrument checks, I issue a sign-off and store the Lab and GU values.
I also track acceptable ΔE bands by product class. For high-visibility furniture, I aim for ΔE ≤ 2 (CIEDE2000). For utility pieces, ΔE ≤ 3 may be acceptable. These bands guide quick go/no-go decisions on the line. Industry guides and device vendors provide detailed tolerancing advice that I follow.
The Technical Side: Tools and Standards Used in Edge Banding Color Matching?
I started with visual matching. Then I bought a spectrophotometer. It changed everything. (PAS)
Key tools: spectrophotometer, glossmeter, color management software, and sample passport records. I calibrate devices and use a standard method for measurement.

Dive deeper: instruments, standards, and how I run a measurement session
Spectrophotometer
I use a spectrophotometer to measure Lab* values. I set measurement geometry and aperture to match material types. I calibrate with manufacturer tiles before each session. I record device ID, operator, and time with every reading. Using software like X-Rite i1 or Datacolor tools helps store and compare targets and batches.
Glossmeter
I measure GU at 60°. For very glossy finishes I also use 20°. I log GU values with Lab data. This combined record is my acceptance evidence.
Standards and ΔE
I report ΔE with CIEDE2000 (ΔE00) for small differences because it models visual perception better than older formulas. The CIEDE2000 paper and implementation notes are my reference for correct calculation and weighting.
Software and color libraries
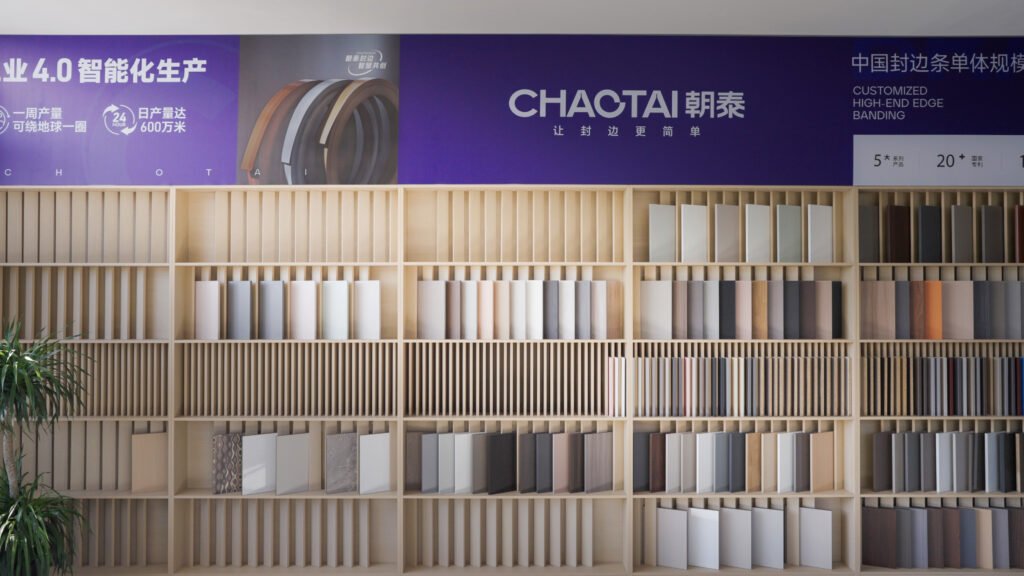
I store approved board-edge pairs in a color library. The library includes Lab targets, GU, texture name, and proof photos. Manufacturers’ cross-reference charts (Egger, Arauco) help me quickly find candidate SKUs, but I always verify with a physical proof. Many suppliers also publish edge matching lookup tables, which I import and validate.
Measurement process I follow
- Condition samples to shop temperature and humidity.
- Calibrate instruments.
- Take multiple readings across the sample and use the mean.
- Compute ΔE using CIEDE2000 and record GU.
- Produce assembled proof and sign-off.
This technical discipline reduces disputes. It also speeds approvals because clients trust numbers and proof images.
Common Challenges in Achieving Perfect Color Match and How to Solve Them?
I used to see lot-to-lot shifts. I learned a few rules that stopped most surprises. (PAS)
Main challenges: lot variation, metamerism, substrate differences, and inconsistent measurement. I solve them with traceability, assembled proofs, and agreed tolerances.

Dive deeper: failure modes, practical fixes, and a table you can copy
Failure mode 1 — Lot-to-lot shifts
Boards or edge rolls change slightly by batch. Fix: require board lot numbers and store a sample passport per lot. For large runs, request board samples from the same lot you will match. Keep buffer stock of approved edge rolls for repeat orders.
Failure mode 2 — Metamerism
Two materials match under one light and not another. Fix: view assembled proofs under the client’s intended lighting and under standard D65 and warm light. If metamerism appears, choose materials or prints that reduce spectral mismatch.
Failure mode 3 — Texture and gloss mismatch
A sheen or embossing mismatch breaks the illusion even if ΔE is low. Fix: specify GU targets and texture names. Use matching embossing or select an edge finish with similar scattering behavior.
Failure mode 4 — Measurement inconsistency
Different devices or operators give different numbers. Fix: standardize device type, measurement geometry, and operator training. Log device IDs and calibration status. Use the mean of multiple readings for each sample.
| Problem | Immediate action |
|---|---|
| Lot shift | Ask for lot sample and delay full run until sample approved |
| Metamerism | Approve under target light or change materials |
| Gloss mismatch | Measure GU, change edge sheen or embossing |
| Measurement drift | Recalibrate devices and retrain operators |
These fixes are practical and low cost compared with rework and rejected shipments. I insist on a simple sample approval form that records Lab, GU, lot, and sign-off. That form is my defense against disputes.
How Reliable Color Matching Builds Brand Trust and Customer Loyalty?
I won repeat business after I started sending assembled approval samples. Customers appreciated the certainty. (PAS)
Reliable matching reduces returns and gives brands confidence. Brands then specify you in projects and recommend you. I treat color control as a marketing advantage.
Dive deeper: KPIs, sales impact, and how I package color assurance in proposals
KPIs I track
- First-pass acceptance rate.
- Number of color claims per 1,000 meters.
- Time from sample request to client sign-off.
When these KPIs improve, sales cycles shorten. Clients ask for larger volumes and fewer samples. Designers specify our edge SKUs when we maintain a “color passport” and sample library. I include Lab and GU values in proposals. I also attach a photo of the assembled proof. That practice helps procurement teams approve faster.
How I package the offer
I present three options in quotes:
- Standard stock match (fast, low cost).
- Verified match (pilot strip, measurement, assembled proof).
- Premium match (pilot + small sample book + extended lot traceability).
Clients choose verified or premium when projects are high value. They pay a modest premium, and we reduce claims.
In the long run, reliable matching is cheaper than arguing over color after delivery. It becomes a visible part of the brand promise. I position it that way in sales materials. That simple positioning wins higher-margin work and builds loyalty.
Conclusion
I make color matching a measurable, documented step. That step protects projects, shortens approvals, and turns commodity edges into a trustable service.
Data sources and links
- X-Rite — Understanding Color: a practical guide to color communication and tolerancing. https://www.xrite.com/-/media/xrite/files/whitepaper_pdfs/l10-001_understanding_color_en.pdf. (xrite.com)
- CIEDE2000 implementation notes (Sharma et al.) — the recommended ΔE formula for perceptual tolerancing. https://hajim.rochester.edu/ece/sites/gsharma/papers/CIEDE2000CRNAFeb05.pdf. (hajim.rochester.edu)
- EGGER — PVC Edge Banding technical and processing instructions. https://www.egger.com/get_download/a9b96277-6ba5-4519-888f-cf529d08d942/PI_EGGER_Edging_PVC.pdf?country=AR. (Egger)
- Framatech — 5 Things to consider when matching your PVC edgebanding (texture, material, application). https://www.framatech.com/blogs/the-ultimate-edgebanding-resource-hub/5-things-to-consider-when-matching-your-pvc-edgebanding. (Frama-Tech)
- Datacolor / Device guides and user manuals for color measurement and match workflows. https://www.datacolor.com/wp-content/uploads/2022/01/Datacolor-Match-Pigment-User-Guide.pdf. (Datacolor)