
I once had a pallet returned because rolls were the wrong shade. That cost me time and trust. (PAS)
A clear QC checklist stops those costs. I use checks from sample approval to final packing. This guide gives the exact steps I follow so my clients get consistent edge banding every time.
Good QC starts before production. Keep reading and I will show the forms, tests, and checkpoints I use on every order.
Why Quality Control Matters in PVC Edgeband Production?
I lost a long-term customer once after a high-visibility project failed at install. I could not afford that again. (PAS)
Quality control protects product appearance, adhesion, and function. It reduces returns, speeds approvals, and protects margin. Trusted brands demand proof, not promises.

Dive deeper: business and technical reasons to have a strict QC system
I treat QC as both risk management and sales support. A bad roll can cause callbacks, rework, and lost reputation. I count three direct costs from a failed batch: return freight, re-production, and lost orders. Those costs pile up fast.
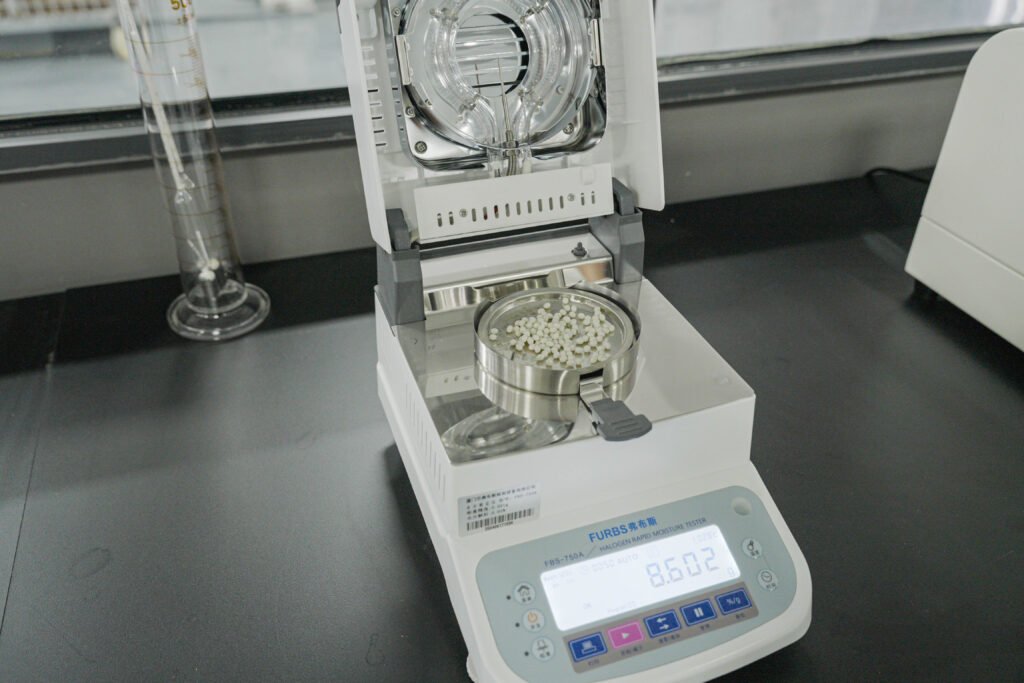
Technically, PVC edgeband failures show as color mismatch, poor adhesion, wrong width, or surface defects. Boards and edges must match in color, gloss, and texture when assembled. I insist on assembled proofs because flat samples hide how light and texture interact. Suppliers like REHAU and others state that edgeband must meet surface quality and dimensional tolerances before they leave the plant. That is why I require COAs and pilot runs on new SKUs.
I also track KPIs. I watch first-pass acceptance, claim rate per 1,000 m, and average time to resolve a claim. When I tightened my QC steps, those KPIs improved within two quarters. Good QC shortens sales cycles because clients approve faster when you give them measured proof.
Finally, QC helps with compliance. Some markets require fire rating or low-emission certificates. If you do not hold the correct documents, you risk import holds or rejected shipments. I always list required certificates in the PO and verify them before shipment. This prevents last-minute chaos and cost.
Key Specifications to Check Before Mass Production?
I learned to never approve a full run from photos alone. I now only start mass work after physical approvals. (PAS)
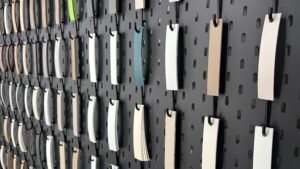
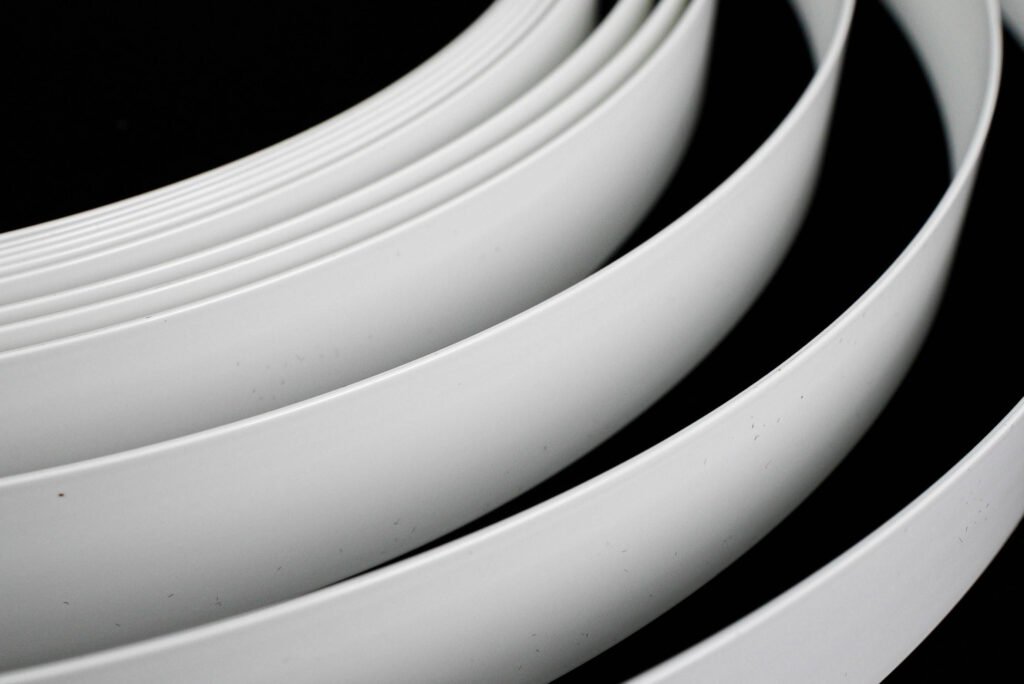
Before production, I lock specs for color, gloss, texture, width, thickness, and packaging. These specs become the contract for the run.

Dive deeper: exact pre-production checks I require (with a table you can copy)
I use a simple pre-production checklist. I ask the supplier to deliver a pre-production sample or pilot roll. I will not approve a run without it.
Pre-production checklist I use
| Item | What I check | Acceptable criteria |
|---|---|---|
| Color target | Spectro readings (L*a*b*) and assembled proof | ΔE00 ≤ agreed tolerance (often ≤2 for high-visibility) |
| Gloss | GU at 60° (20° if high gloss) | Within ± specified GU |
| Texture | Visual match and emboss depth | Match texture name and photo |
| Width & thickness | Caliper and tape check | Within ± supplier tolerance (e.g., ±0.1 mm) |
| Printing quality | Registration and repeat | No misprints, correct repeat length |
| Adhesion primer | Primer type noted | Suitable for EVA/PUR per customer spec |
| Certificates | Emissions, flame rating (if needed) | Valid COA attached |
| Packaging spec | Core ID, roll length, palletization | Matches PO and handling needs |
I also ask for production parameters. That includes extrusion line speed, temperature ranges, and embossing settings. I log that data in the supplier file. If a future batch later fails, these notes help find the root cause.
I use a light booth or controlled lighting when I approve color. A visual pass in uncontrolled light is risky. A spectrophotometer gives me numbers. The light booth reveals metamerism. I require both. Industry guidance shows that combining instrument and visual checks gives the best results.
In-Process Inspections: Ensuring Consistency During Production?
I once let a mill run overnight without checks. The next day many rolls had embossing errors. I changed my process. (PAS)
In-process checks catch issues while there is time to fix them. I require periodic readings and photo evidence. That practice saves the most rework.
Dive deeper: checkpoints, frequency, and how I document them
I set checkpoints at three main stages: start of shift, mid-run, and end of run. I require the supplier to record or share the following at each checkpoint:
Start of shift
- Melt and roller temperatures.
- First-pass color and gloss readings.
- Photo of pilot strip and packaging readiness.
Mid-run (every 2–4 hours depending on line speed)
- Spectro readings on a sample roll (3 readings per roll averaged).
- Visual check for emboss repeat, print registration, and surface defects.
- Winding quality check (no loose edges, even cores).
End of run
- Final batch COA with average lab readings.
- Photos of all pallet labels and packaging.
- Sample roll kept for traceability.
I use a simple reporting form that the supplier fills and emails. I also hire third-party inspectors for the first big order from a new mill. Inspectors follow AQL sampling rules, but I also require assembled proof checks. For critical SKUs I ask the inspector to perform instrument checks and upload readings. This extra step costs a small fee but saves much more in avoided claims.
I store all QC documents in a folder per PO. That includes sample photos, COAs, inspector reports, and the pilot sign-off. When a customer asks for proof, I can quickly send this package. This transparency builds trust and speeds dispute resolution.
Final Inspection Checklist Before Shipment?
I once opened a container and found mixed lot numbers and wrong labels. The client refused the load. I tightened final checks after that. (PAS)
Final inspection must confirm color, dimension, adhesion, labeling, and packing. I never ship without a signed final report.

Dive deeper: my final inspection form and packaging best practices (table included)
My final inspection has two parts: product checks and packing checks.
Product checks (sample-based plus assembled proof)
| Check | Method | Acceptable |
|---|---|---|
| Color ΔE | Spectro on assembled sample | Within agreed ΔE00 |
| Gloss GU | Glossmeter on edge and board | Within ± GU tolerance |
| Adhesion | Peel test on sample assemblies | Meets target (supplier TDS) |
| Width/thickness | Caliper measurement | Within ± tolerance |
| Surface defects | Visual at 1m and 0.5m | No visible bubbles, scratches, or streaks |
| Emboss/print repeat | Visual and measurement | Consistent repeat, no misregistration |
Packing checks
| Check | Method |
|---|---|
| Lot labeling | Verify SKU, lot, and length on each roll |
| Pallet stability | Pallet wrap and straps, corner protection |
| Inner cores | Correct core ID for customer machines |
| Documentation | Commercial invoice, packing list, COA included |
| Photos | Full pallet photos from 4 sides + labels close-up |
If a batch fails any critical check, I do not accept shipping. I work with the supplier to rework or replace rolls. I document the decision and the corrective action plan. For containers, I ask inspectors to snapshot 5–10% of pallets inside the container after loading. That helps in case freight damage occurs later.
I also check packaging strength for the chosen transport mode. Sea transit needs stronger pallets and more wrapping than local truck moves. Proper packing reduces transit claims and protects customer relationships.
How Distributors Can Use QC Reports to Build Client Trust?
After one bad shipment I started sending a QC pack with every order. My clients noticed and stayed. (PAS)
QC reports are proof of care. I attach COAs, assembled proof photos, and inspector reports to every shipment. That transparency reduces pushback and speeds approval.

Dive deeper: what to include in a QC pack and how to present it to clients
A QC pack should be simple and clear. I aim to make it easy for procurement or QC teams to approve without extra work.
Contents of my QC pack
- One-page summary (PO number, SKU, lot, key readings).
- COA with spectro and gloss numbers.
- Photos of assembled proofs under controlled lighting.
- Third-party inspection report if used.
- Packaging photos and pallet labels.
- Any certificates (low VOC, flame class, etc.).
I present the pack as a PDF and a shared folder link. I also include a short note: “Key metrics: ΔE00 = X; GU = Y; Lot = Z.” That short line reduces email back-and-forth.
I train my sales team to use QC data as a selling point. When a designer or buyer asks about tolerance, the rep sends the pack. That approach shortens contracts and increases repeat orders.
Finally, I log every claim. I include QC evidence in the claim review. If a supplier fails repeatedly, I use the documentation to enforce remedies or switch partners. Good QC records are both a shield and a tool for continuous improvement.
Conclusion
I use a tight QC checklist from pre-production to packing. That discipline stops defects, speeds approvals, and builds trust.
Data sources and links
- REHAU — Edgeband material, process and quality tips (technical brochure). https://www.rehau.com/downloads/500572/edgebandmaterialandprocessingtips-100711-rehau.pdf. (REHAU)
- Glow Edgeband — Quality control parameters for PVC edgeband. https://glowedgeband.com/quality-check. (Glow Edgeband)
- Rams Industries — Using a light booth and spectrophotometer for edgeband color checks. https://ramsindustries.com/what-cabinetmakers-need-to-know-about-edgebanding-manufacturing-quality/. (RAMS Industries, Ltd.)
- TECE / Technical datasheet — PVC edgebanding gloss and finish standards. https://tece.com.tr/images/downloads/en/TDS_PVC.pdf. (TECE | The Edgebanding Company)
- GoAudits — QC checklist templates and inspection forms (template resource). https://goaudits.com/templates/quality-control-checklists/. (GoAudits)