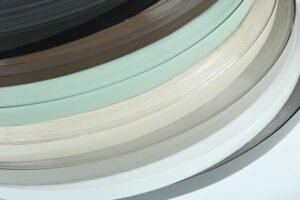
Edge banding may seem like a small detail, but the wrong shape can ruin the whole look—or worse, cause long-term durability issues.
The difference between flat and L-shape edge banding lies in their structure and coverage: flat edge banding covers only the edge surface, while L-shape wraps around both the edge and one adjacent face.
If you’re choosing edge banding for your next furniture project, don’t rush it. Flat and L-shape options serve very different functions. Below, I’ll walk you through the differences, use cases, and installation details—so you can choose with confidence.
What Is Edge Banding and Why Its Shape Matters
Edge banding hides raw board edges and gives a polished finish. But the wrong shape may not stick well—or might look completely out of place.
Edge banding shape matters because it affects appearance, edge protection, and how well it bonds to different furniture parts.
Understanding Edge Banding Shapes
There are two main types most commonly used in board furniture: flat edge banding and L-shape edge banding.
- Flat edge banding: Applied directly to the raw edge, it’s the standard choice for most panels.
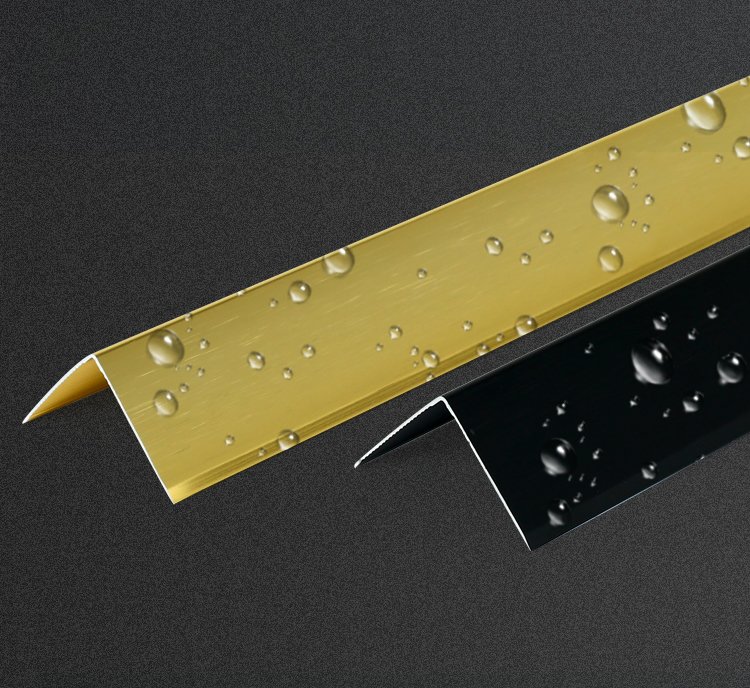
- L-shape edge banding: Designed to wrap around the edge and part of the surface, usually forming a 90-degree profile.
Each shape has a different purpose. Flat banding is quick and simple. L-shape offers more coverage and visual depth, especially at corners or table tops. This shape also strengthens weak edges, which makes it ideal for areas with frequent contact.
Key Differences Between Flat and L-Shape Edge Banding
Both styles serve the same purpose—but how they do it is completely different.
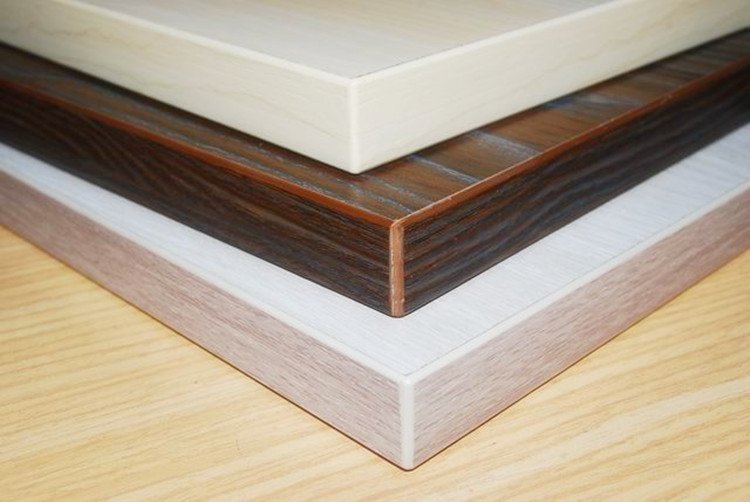
The main difference is coverage: flat edge banding covers just the edge, while L-shape wraps over both edge and one face, offering more protection and a thicker visual finish.

Feature-by-Feature Comparison
Here’s how they compare across key factors:
| Feature | Flat Edge Banding | L-Shape Edge Banding |
|---|---|---|
| Coverage Area | Edge only | Edge + adjacent face |
| Thickness Appearance | Thin | Thick, block-like |
| Installation Complexity | Simple | Medium to high |
| Cost | Lower | Higher |
| Edge Protection | Basic | Enhanced |
| Design Appeal | Minimalist | Bold or luxury look |
| Best Use | Basic panels, cabinet sides | Table tops, shelves, door fronts |
In my experience, L-shape banding draws more attention and feels high-end, especially for modern or commercial furniture. But it also takes longer to install and costs more. I usually recommend it for visible pieces like open-shelf systems or conference desks.
Pros and Cons of Using L-Shape Edge Banding Over Flat Edges
L-shape banding looks good and protects better—but it’s not the right fit for every project.
L-shape edge banding offers enhanced edge protection and a premium look, but it comes with higher cost and installation effort compared to flat edge banding.
Pros of L-Shape Edge Banding
- Visual Impact: It creates a bold, furniture-grade appearance that mimics solid wood.
- Edge Strengthening: Better suited for high-traffic areas or parts prone to chipping.
- Surface Seam Protection: It hides minor surface-edge misalignments.
Cons of L-Shape Edge Banding
- Cost: Often double the price of flat banding per meter.
- More Complicated Installation: Needs precise alignment and often custom pressing tools.
- Not Always Necessary: For hidden edges or less-used surfaces, it’s overkill.
I once recommended L-shape banding for a retail shelving project, where the display needed to look upscale but also survive daily wear. It worked perfectly—but we did have to train the client’s installer first.
Best Use Cases: When to Choose Flat vs L-Shape Edge Banding
If you’re not sure which to pick, start with the furniture’s purpose and visibility.
Flat edge banding fits standard cabinetry and hidden edges. L-shape edge banding is best for exposed corners, worktops, or statement furniture.
Match Banding Shape to the Application
| Furniture Area | Recommended Banding |
|---|---|
| Interior cabinet sides | Flat |
| Kitchen countertops | L-Shape |
| Office desk edges | L-Shape |
| Wardrobe carcass | Flat |
| Shelf fronts | L-Shape |
| Drawer fronts | Depends on design |
Think about how often the edge will be touched, whether it’s visible, and how you want the piece to feel. I always tell clients: “Use L-shape where the eye stops—or where the hand lands.”
How to Install Flat and L-Shape Edge Banding: A Practical Guide
Getting it right at installation makes all the difference. Each shape requires a slightly different approach.
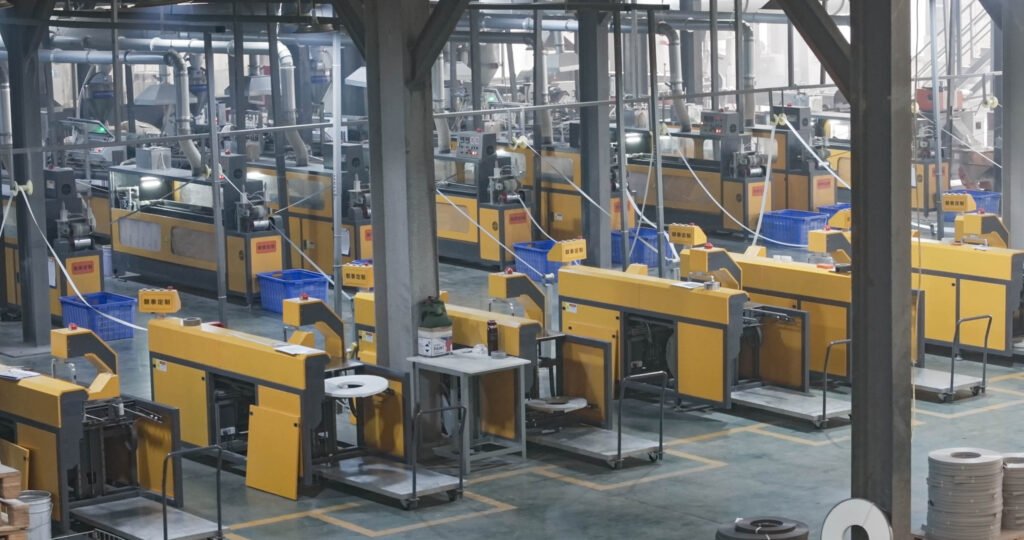
Flat banding is fast and easy to install with edge banding machines. L-shape requires extra care in alignment, pressure, and corner finishing.

Installation Comparison
Flat Edge Banding
- Tools Needed: Manual edgebander or automatic machine, trimming knife.
- Steps:
- Apply glue or use pre-glued edge band.
- Align flush with edge.
- Press and trim.
- Time: Less than 2 minutes per edge.
L-Shape Edge Banding
- Tools Needed: Custom press molds or clamps, precision trimmer.
- Steps:
- Apply glue to edge and adjacent face.
- Position banding with perfect 90° fold.
- Apply even pressure.
- Trim any overhang carefully.
- Time: 3–4x longer than flat.
If you’re using L-shape on mass production, I highly recommend a custom corner pressing fixture. We built one for a client and it cut their labor time in half.
Conclusion
Flat and L-shape edge banding serve different purposes—choose based on your design, function, and budget.
4o