
I feel the pain when a corner wrap looks bad. It ruins the whole panel and wastes time and material. (PAS: Problem, Agitate, Solve — short.)
I’ll show clear, step-by-step methods to bend, trim, and finish PVC edgeband on straight, radius, and sharp corners so the edge stays strong and looks clean. (Answer for featured snippet.)
Edge banding corners well takes practice. Read on. I keep this practical. I give real tools, recommended thickness ranges, common mistakes, and simple checks you can use on the shop floor.
What Are the Common Challenges When Banding Straight vs Radius or Sharp Corners?
I see three main problems: poor adhesion, visible stress marks, and gaps or chipping after trimming. These show more often on radius and sharp corners than on straight edges.
Bad corners happen when the tape is too stiff, the glue is wrong, or the heat and pressure are not controlled. For radius corners the tape needs to stretch a little. For sharp corners you need overlap or special folding. Many factory mistakes come from skipping prep and using the wrong glue.
Why the problems differ by corner type
- Straight edges mainly test glue strength and trimming accuracy.
- Large radius corners require the tape to conform and stretch.
- Sharp corners force the tape to fold; bad folds show chips and gaps.
Quick comparison table
| Corner type | Main stress | Typical fail mode | Fast fix |
|---|---|---|---|
| Straight | Peel forces | Lifting at ends | Better adhesive, clamp longer |
| Radius (>5 mm) | Stretching | Wrinkles, stress marks | Use flexible tape or heat, score back |
| Sharp (≤3 mm) | Folding/crease | Chipping, gap | Overlap + careful trimming |
I prefer to think in simple steps. Prep the edge first. Choose tape thickness for the corner. Match the glue and set the right temperature. These three moves avoid most failures.
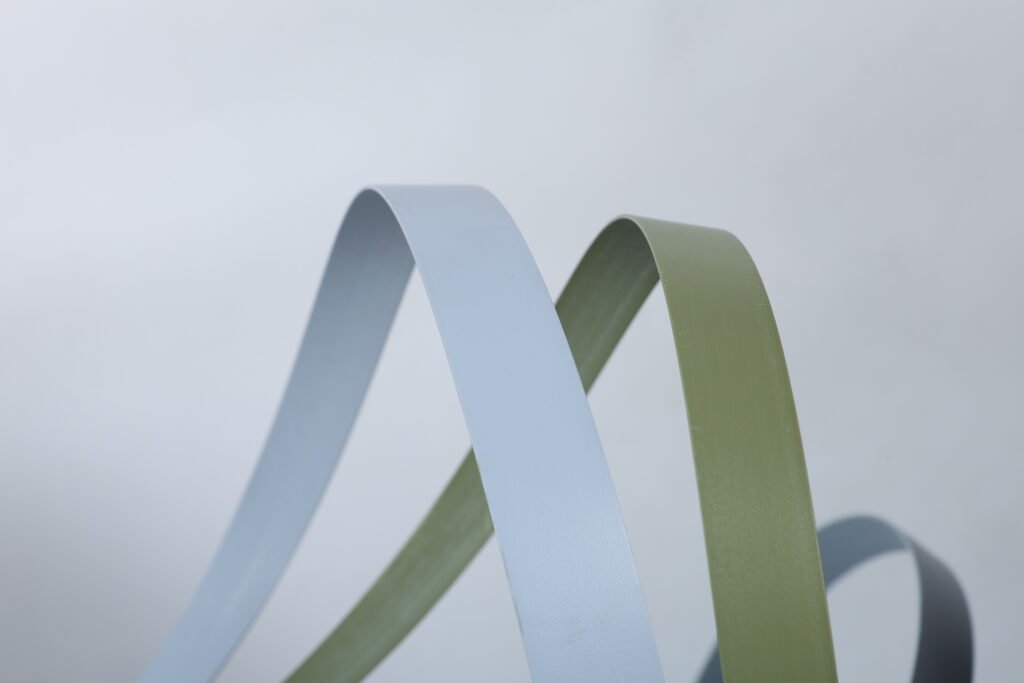
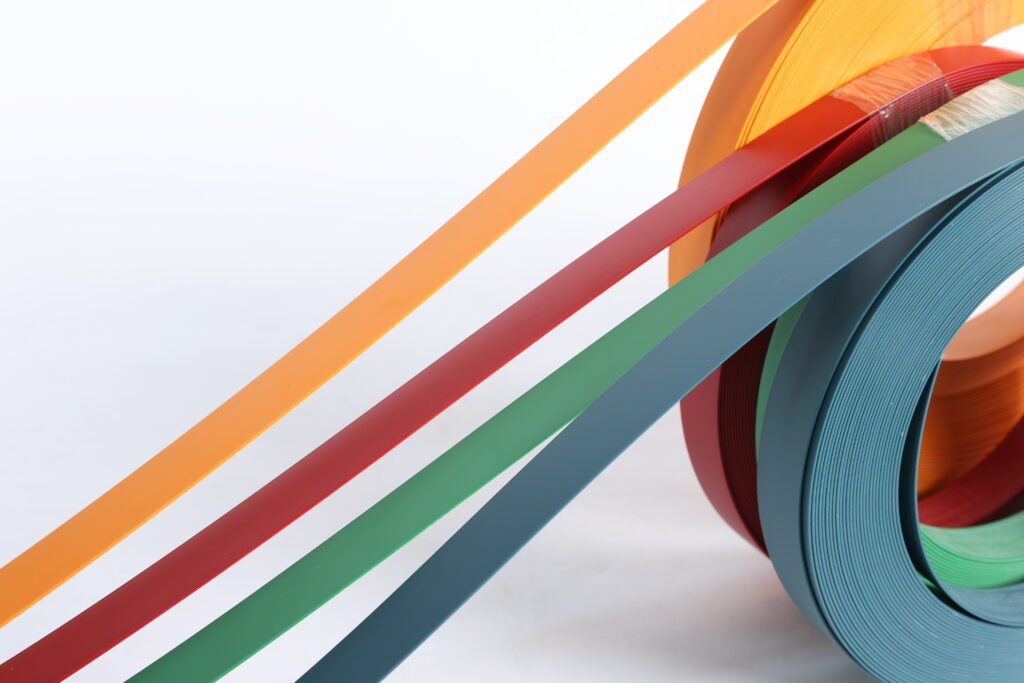
Which PVC Edgeband Types and Thickness Work Best for Corner Bending?
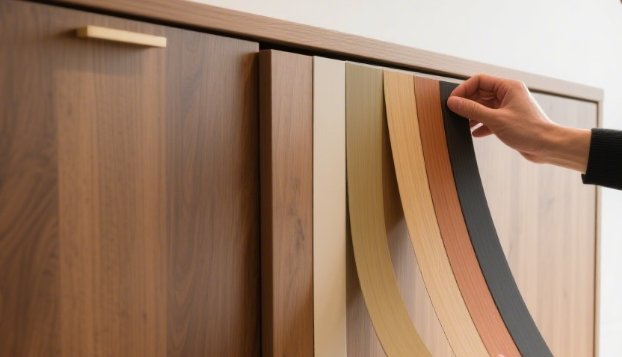
If I must pick a rule: thinner tapes bend easier; thicker tapes give more protection. For tight radius or tricky corners I go thinner. For heavy-duty furniture or visible edges I pick thicker. Typical industry thickness options run from about 0.25–0.4 mm up to 2–3 mm. Thinner (0.4 mm) is common for cabinets; 2 mm or more is used where impact resistance is needed.
Dive deeper: choosing tape type and thickness for real jobs
I start by asking two simple questions: how tight is the corner radius, and how tough must the edge be later? If the radius is small (sharp corner), the tape must fold without cracking. That usually means either a thinner PVC or a tape designed for profile wrapping. Many suppliers list bending grades or “wrapping” types for this reason. For radius corners that are gentle, I still prefer 0.4–0.8 mm tape. It bends with heat and gives a clean finish. For high-traffic edges, I choose 1.5–2 mm tape. That can take knocks and hides any slight trimming errors.
I also check the tape width relative to panel thickness. The tape should be slightly wider than the panel. This gives enough material for trimming and for forming a neat fold at the corner. If I must create a sharp external corner, I plan for a small overlap. That overlap helps prevent gap formation when the panel moves or when humidity changes. For internal corners or tight radii, I will sometimes preheat the tape and the substrate a bit more to make the PVC more pliable. In automated lines, wrapping machines handle this by preheating and forming; for manual work, an iron or hot air gun plus roller works well. Suppliers publish tape thickness ranges and intended uses; I check those before buying to avoid surprises. Industry catalogs commonly list thickness from 0.25–3 mm and label grades for bending or profile wrapping. If I’m unsure, I trial a short length on scrap to confirm bending and finish.
(Practical tip) I keep spare rolls in common bending grades. If a job needs durability, I test 2 mm on scrap. If a job needs tight folding, I test 0.4 mm and a wrapping grade. This saves rework time.
Sources: supplier catalogs and material guides list standard thickness ranges and specific “wrapping” PVC grades for corners.
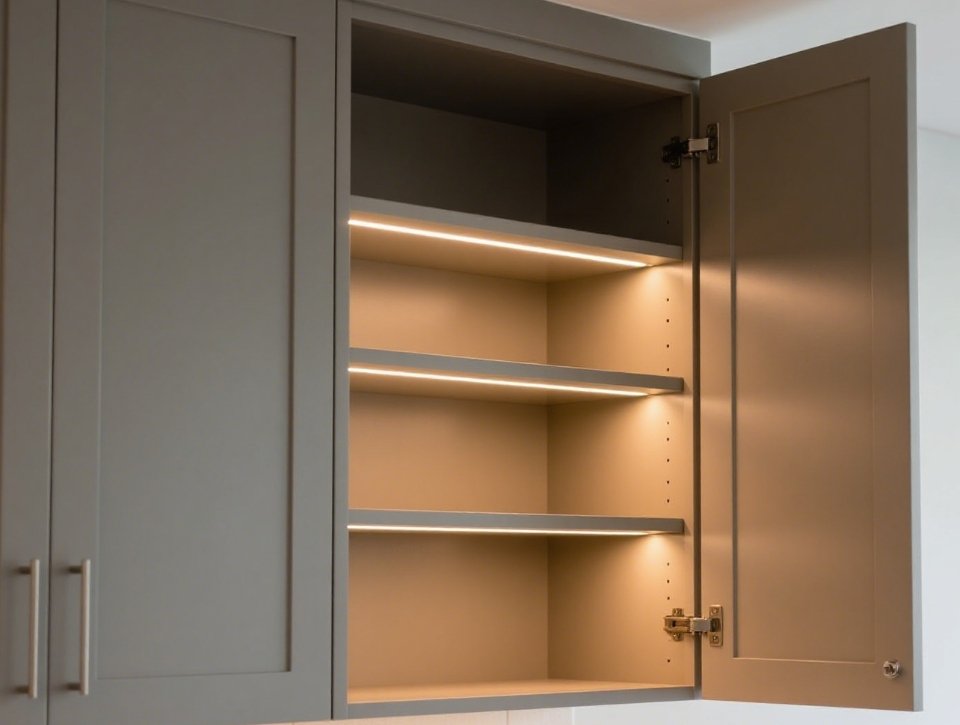
What Tools and Techniques Ensure Clean Corner Wrapping Without Stress Marks?
I rely on four tool groups: heat source, pressure rollers, trimming tools, and finishing tools. Use each at the right step. Good tools halve your rework. Many brands offer edgebanding toolkits and routers for the finishing stage.

Dive deeper: exact tools and how I use them
My go-to heat sources are a hot air gun for spot bending and a cloth iron for longer runs. For production, preheating stations or hot-melt applicators do the job faster and more evenly. The key is even heat. Uneven heat creates stretch marks or small white abrasions. I always work at the lowest heat that softens the PVC enough to form. For adhesives, EVA hot melts are common and easy. PUR gives a stronger, more temperature-resistant bond. For corners that will face moisture or high temperatures, I pick PUR despite the higher cost and extra equipment needs. This choice reduces later lifting and improves durability.
Pressure is the second key. After heating, I press the tape firmly with a roller or the edgebander’s pressure rollers. I use a soft rubber roller for manual work to avoid cutting into the tape. For radius corners, I press from the center of the radius outward. That removes air and avoids wrinkles.
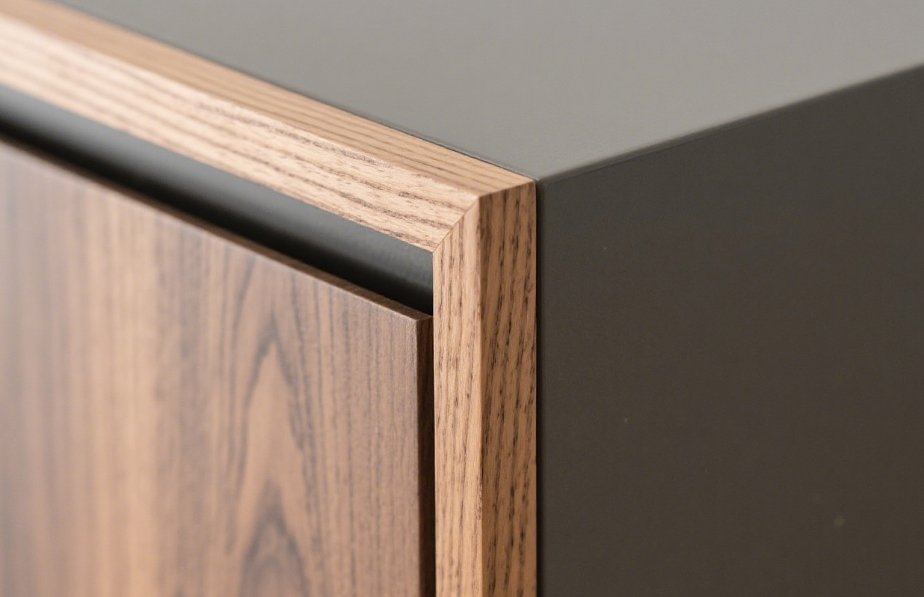
For trimming, I use a flush trim router or a manual trimmer set to gently cut the excess. I finish with a hand file or flap wheel to remove burrs. When trimming near a corner fold, I score the tape on the inside first. This reduces stress on the visible face and keeps the finish smooth. For very sharp external corners, I sometimes fold the tape over and make a tiny mitre or overlap, then trim and sand to a near-invisible joint.
Finally, finishing tools matter. A corner plane or small chisel cleans the fold. A heat-activated roller or iron re-seals the bond at the corner after trimming. The result is a seam that resists chipping and hides any white marks. Brands like REHAU publish tool lists and tool kits for these steps.
How Do You Trim, Seal, and Finish Corner Edges Without Chipping or Gaps?
Trimming is a controlled cut, not a rush. I trim with the right tool, then sand lightly. I always reheat and press after trimming to reseal the glue line. That reduces chipping and whitening.

Dive deeper: step-by-step trimming and sealing
I do trimming in stages. First, I trim the bulk waste with a sharp guillotine or heavy snips. This gives a quick, even edge. Next, I use a flush trim router or manual trimmer with a bearing set to the panel thickness. I make a single clean pass. Multiple heavy passes increase tear and chips. After trimming, I check the corner for small gaps. If there is a tiny gap, I use color-matched filler or a thin strip of matching tape to fill it. For glue whitening or abrasion marks, I reheat the area lightly and press with a roller. This often blends the face and removes visible whiteness. In automated lines, the final flapper wheel and scraping tools remove all white edges before buffing.
I avoid over-sanding. Sanding can thin the tape at the corner and expose the core. If sanding is needed, I use a fine grit and sand parallel to the edge. For external sharp corners, I sometimes create a tiny bevel, about 0.2–0.4 mm, to make the corner less brittle. This reduces small chips when the furniture is bumped.
Finally, I perform a finishing pass with a soft cloth and a mild heat to smooth the surface. The last press seals the adhesive. If using PUR glue, I wait full cure time before heavy handling. PUR bonds react with moisture and cure differently than EVA; patience here prevents edge lifting later. Product guides explain curing and handling differences.
What Quality Checks Prevent Corner Lifting, Whitening, or Early Failure?
I inspect each part for bond strength, visible white marks, and gaps. I also perform a pull test on sample panels. If one in twenty panels fails, I stop and fix the line.
Dive deeper: practical QC steps and metrics
Quality control must be simple and repeatable. I use this checklist every shift:
- Visual check — Look for white marks, bubbles, and gaps. White marks from slitting usually disappear after trimming, but if white lines remain on the finished face, the tape may be low quality or the trimming step incorrect.
- Adhesion test — Run a 1-inch peel test on random panels. Pull at 90° and check for substrate failure vs adhesive failure. Adhesive failure means glue or surface prep issues. Substrate failure suggests the glue is stronger than the board; that is rare but notable.
- Corner impact test — Drop or knock the corner with a set force (use a simple weight drop). Look for chipping or separation. If corners fail, consider thicker tape or different adhesive.
- Environmental test — Expose samples to humidity and heat cycles if the product will face those conditions. PUR bonds resist moisture better than EVA; choose accordingly for kitchens and bathrooms.
I keep records. If I see edge lifting or whitening rise, I track glue batch, tape lot, operator, and machine settings. Most faults trace back to one of these: surface contamination, wrong glue temperature, wrong roller pressure, or wrong tape grade. Fix one variable at a time and recheck. Manuals and vendor guides list allowed temperature and pressure windows; I follow those range values in production.
Conclusion
I use the right tape, correct glue, steady heat, and careful trimming. Do that and corners look right and last.
Data sources and links I used:
- REHAU — Wood Working Accessories & Tools. https://www.rehau.com/sg-en/interiors/interiors-edges-tools. (REHAU)
- BESTIN Group — PUR Edge Banding guide & Hot Melt Edge Banding. https://www.bestingroup.com/pur-edge-banding-the-definitive-guide/ and https://www.bestingroup.com/hot-melt-edge-banding-the-ultimate-guide/. (bestingroup.com)
- Industry supplier catalogs / thickness ranges (examples): Ney store PVC Edging and supplier listings. https://store.ney.co.uk/ie/materials/edging/pvc-edging/ and Alibaba PVC edgebanding listings. (store.ney.co.uk)
- Practical guidance on common mistakes and surface prep: Framatech edgebanding resource. https://www.framatech.com/blogs/the-ultimate-edgebanding-resource-hub/common-mistakes-to-avoid-when-using-pvc-edge-banding-tips-for-a-flawless-finish. (Frama-Tech)
- Technical notes on white marks, trimming, and why they disappear after finishing: Mobelkant article. https://www.mobelkant.com/en/understanding-white-marks-on-edgebands-and-why-they-disappear-after-trimming/. (mobelkant.com)