
I lost a launch because a color shift ruined a run. I had to rework parts and delay shipment. (PAS: problem, agitation, solution.)
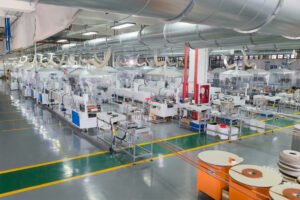
OEM services bring lab-verified color matching, repeatable embossing, and protective packaging so I can ship on time with the right look.
I want to give you steps I use when I pick an OEM. I explain why color control matters. I show how embossing works. I cover packaging options that protect rolls and coils. Read on and use these checks for your projects.
Why OEM Color Matching Matters for Furniture Brands?
I saw a sample match a door face perfectly. Then the production batch was off. Customers noticed. I lost sales.
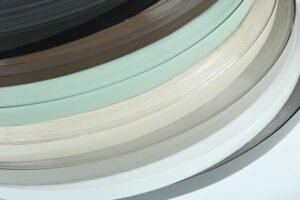
Good color matching prevents visual mismatch across parts and batches. It saves rework, claims, and time. For brands, color fidelity protects reputation and speeds launches.
Dive deeper
Why small color shifts become big problems
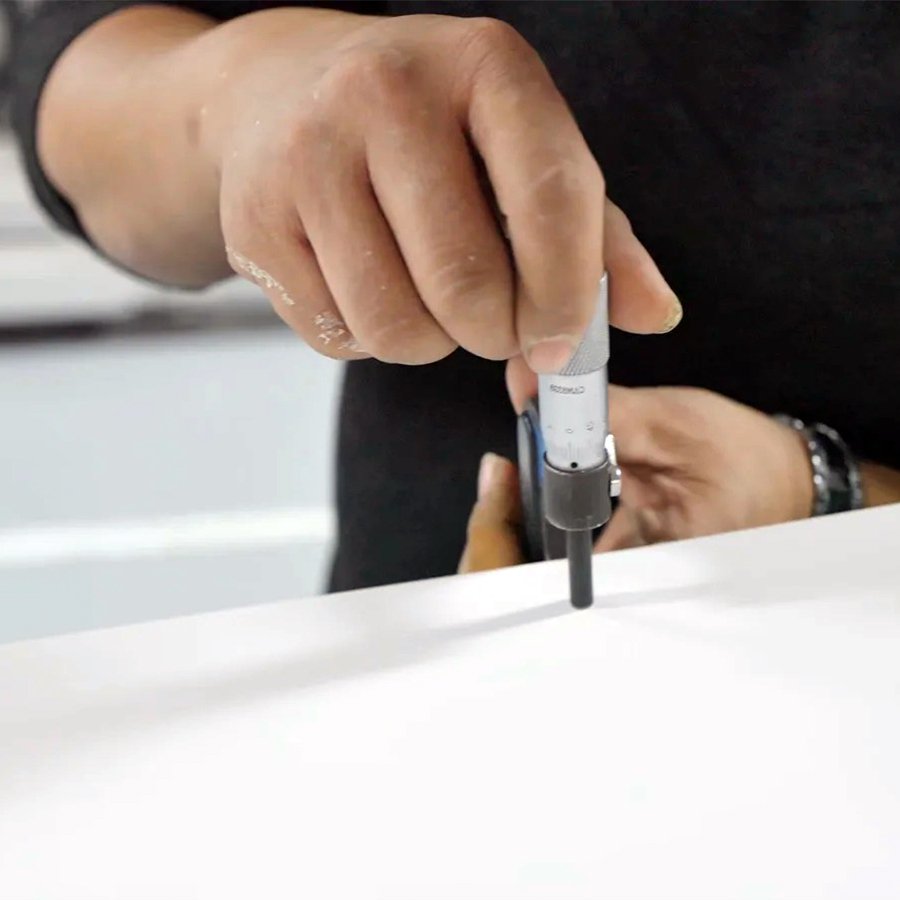
I compare a finished cabinet to the edge trim. If the edge looks different, the whole product seems cheap. People notice even small shifts. The industry measures color difference with ΔE (Delta E). A ΔE under 1 is nearly invisible. A ΔE under 2.5 is usually acceptable for many commercial uses. I ask for spectrophotometer reports that show ΔE values for approvals. This step cuts disputes later.
How OEMs control color at the lab level
I expect the OEM to run lab trials. The process usually goes like this:
- I send a sample or a color code.
- The factory creates lab batches and prints color chips.
- They measure with a spectrophotometer and provide ΔE data.
- I approve a master sample.
- The OEM locks the pigment recipe and logs the resin lot.
This traceable recipe is the core of long-term consistency. Some OEMs keep a color reserve so they can reproduce the same color even after months. I make that part of the contract when color is critical.
What I check before approval
| Check | Why it matters |
|---|---|
| Spectrophotometer report (ΔE) | Objective color match data. |
| Lab sample on the same substrate | Matches how final part will look. |
| Resin and pigment lot logging | Traceability for future runs. |
| Color reserve policy | Ability to repeat color months later. |
I only sign off when I see ΔE data and a logged recipe. That saves me from reorders and claims.
How OEM Manufacturers Match Colors Accurately Across Different Production Batches?
I used to accept visual checks. After a failed run, I switched to numeric controls. Numbers do not lie.
OEMs use spectrophotometers, inline color sensors, and batch logging to keep color consistent between batches. They set ΔE tolerances and enforce them during production. This reduces surprises and keeps my product lines uniform.
Dive deeper
Tools and methods OEMs use
I look for these in a factory:
- Spectrophotometers in the lab for initial matches.
- Inline color sensors on the production line for real-time checks.
- Tight process controls for temperature and extrusion speed.
- Resin and pigment lot records tied to every production lot.
Inline measurement helps catch drift before it becomes a problem. The spectrophotometer gives me the ΔE numbers I require. I set contract limits like ΔE ≤ 2.0 for most interiors. For premium lines, I demand ΔE ≤ 1.0. These numbers guide acceptance and reduce subjective disputes.
Typical production workflow I require
- Pre-production color approval with ΔE report.
- Trial run and check of first 100 meters.
- Inline checks every X meters (contract defines X).
- Final acceptance sample and holdback.
I insist on holdback samples from each lot. Those samples help resolve any later issues and prove my acceptance criteria were met.
Table — Measurement and frequency I require
| Measurement | Where | Frequency |
|---|---|---|
| Spectrophotometer lab report | Lab | Once before run. |
| Inline color sensor reading | Production line | Every shift or every X meters. |
| Resin/pigment lot log | Batch record | Every production lot. |
| Holdback sample | Warehouse | One per lot |
I include these points in purchase orders. They cut down on subjective claims and speed resolution when differences occur.
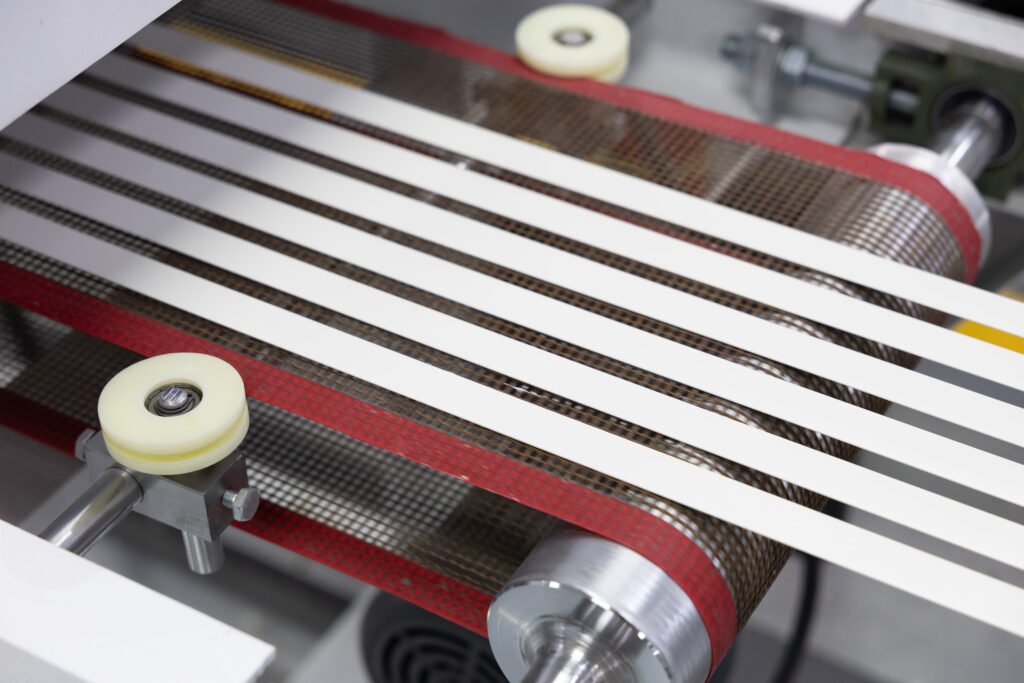
How Embossing Techniques Create Realistic Textures and Better Surface Durability?
I test samples for feel and wear. A print that looks real but rubs off is useless. Embossing must match pattern and performance.
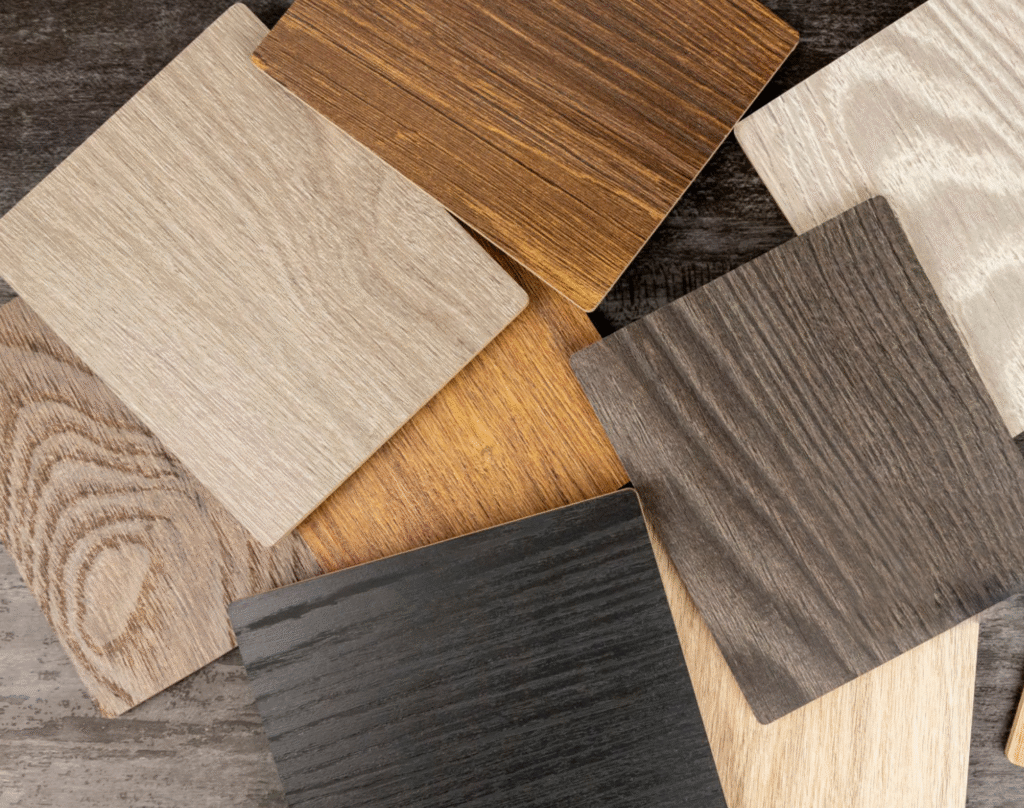
Embossing adds texture and depth. It can mimic woodgrain, matte, or satin finishes. OEMs emboss before or after printing and can combine processes to match a board face. Proper embossing increases abrasion resistance and hides tooling marks.
Dive deeper
Embossing methods and when to use them
I know OEMs use several embossing choices:
- Emboss before printing: The sheet gets texture, then color or pattern is printed to the profile. This can produce strong texture definition.
- Emboss after printing: The printed pattern is pressed to match the texture. This can improve registration for complex patterns.
- Calendering and finishing: Some factories use calender rollers to press finish layers for a consistent hand.
Each method has trade-offs. Emboss-before-printing gives a deeper texture but can slightly shift printed registration. Emboss-after-printing keeps pattern alignment but can soften texture. I ask for both sample types to choose which fits my design.
Durability tests I require
I never rely on look alone. I ask for test data:
- Abrasion resistance (Taber test or equivalent).
- Lightfastness (UV exposure rating).
- Adhesion tests after hot-melt or PUR application.
A good OEM provides lab results. I compare those numbers to my acceptance limits before I approve a texture for production. That reduces returns caused by surface wear.
Table — Embossing decision checklist
| Factor | What I test | Acceptance basis |
|---|---|---|
| Texture realism | Side-by-side sample with substrate | Visual match by daylight |
| Abrasion resistance | Taber cycles data | Meets spec provided by OEM |
| Print registration | Emboss-before vs emboss-after sample | Acceptable pattern alignment |
| Adhesion | Glue bond and heat test | No delamination after test |
I choose embossing methods that meet both look and durability. That keeps my brand standard consistent.
How OEM Packaging Solutions Protect Edge Banding During Shipping and Storage?
I once opened a pallet and found crushed coils. Damage cost me time and money. Proper packaging is not optional.
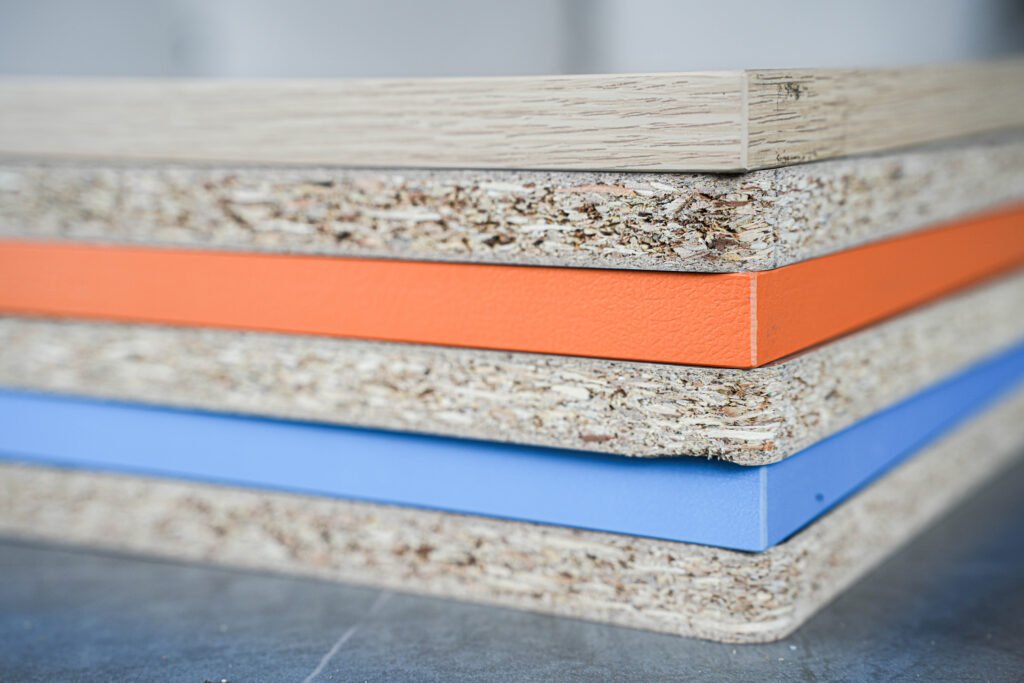
OEMs offer coil winding, inner core protection, edge guards, and outer shrink or cartons. These measures prevent denting, abrasion, and moisture exposure. They also make handling easier and lower damage rates in transit.
Dive deeper
Common packaging elements and why they matter
I expect my OEM to propose a package plan that includes:
- Core winding and banding: Properly wound coils reduce kinks and handle stresses.
- Edge protectors: Cardboard or plastic protect corners and ends from strapping damage.
- Inner moisture barrier: A plastic liner or desiccant for long sea voyages.
- Outer carton or shrink wrap: Holds bundles in place and resists dust.
- Palletization and strapping: Stable stacks with straps and corner protection.
These items avoid many common failures. Edge protectors spread strap pressure and prevent cuts. Moisture barriers stop swelling and mold during long shipping. I ask for photos of the proposed packing before the first shipment.
Packaging tests I ask for
I require the OEM to show:
- A pallet layout plan.
- Photos of trial pack.
- Test results for compression or transit simulation if I order large volumes.
For high-value or sensitive colors, I add a condition that any damage found on arrival triggers a root-cause review and a replacement schedule. This clause keeps both sides accountable.
Table — Packaging options and benefits
| Packaging element | Benefit |
|---|---|
| Edge protectors | Prevent strap damage and crushing. |
| Inner moisture liner | Protects against humidity in shipping. |
| Shrink wrap or cartons | Keeps bundles clean and contained. |
| Pallet strapping + corner blocks | Stable transport and stack strength. |
I finalize packaging with the OEM before production. That step prevents surprises at the warehouse.
What Furniture Brands Should Check Before Approving OEM Color, Texture, and Packaging Samples?
I learned to make a simple checklist. It saved me weeks in back-and-forth.
Before approval, I verify ΔE numbers, emboss method and durability data, and photos of final packing. I require signed acceptance that includes holdback sample policy and a defined rejection process. This process keeps me in control.

Dive deeper
My approval checklist
I use this step-by-step checklist:
- Color: Check spectrophotometer report (ΔE), visual samples under standard lighting, and a logged pigment recipe. If the product will be seen in direct sunlight, check lightfastness.
- Texture: Compare emboss-before and emboss-after samples. Review abrasion and adhesion test data. Approve the one that meets both look and durability.
- Packaging: Review photos and a palletization plan. Confirm edge protector type and moisture control for long shipments. Require trial-pack approval for first shipment.
- Traceability and holdback: Ensure resin and pigment lot logging. Ask for holdback samples per lot and a recall/claim path.
- Contract terms: Put ΔE tolerances and rejection terms in the contract. Define the remediation path and lead times for replacements.
Why I require signed acceptance
A signed approval reduces ambiguity. It states who accepted what and when. If a later lot fails the ΔE limit or adhesion test, the holdback sample helps settle the claim fast. The contract clause that requires the OEM to keep a color reserve or notify me in advance of material changes avoids surprises.
Table — Final approval sign-off template items
| Item to sign off | Notes |
|---|---|
| Master color chip + ΔE report | Attach spectrophotometer printout. |
| Embossing method and durability data | Attach Taber or abrasion report. |
| Packaging photos and pallet plan | Attach trial-pack photos. |
| Traceability log plan | Define lot logging requirements. |
| Holdback sample quantity | Define samples per lot for dispute handling. |
I never ship without these signed items. It helps me protect my brand and my margins.
Conclusion
I pick OEMs for verified color control, repeatable embossing, and robust packaging so my launches stay on time and look right.
Data sources
- IMARC Group — Edge Banding Materials Market Size, Share Report 2025-33. https://www.imarcgroup.com/edge-banding-materials-market. (IMARC Group)
- Techkon / DataColor — Best practices and ΔE tolerance standards for color matching. https://www.datacolor.com/business-solutions/blog/best-practices-delta-e-tolerances/ and https://techkonusa.com/color-measurement-in-the-printing-industry/. (Datacolor)
- Rams Industries — Edgebanding Manufacturing Quality and ΔE guidance. https://ramsindustries.com/what-cabinetmakers-need-to-know-about-edgebanding-manufacturing-quality/. (RAMS Industries, Ltd.)
- Edge Banding Technical Overview — PVC edgebanding embossing and finishes. https://edgebanded.com/pvc-edge-banding/. (edgebanded.com)
- Samuel Packaging / Packaging suppliers — Edge protectors, palletization and transit protection best practices. https://www.samuelpackaging.com/en/protective-packaging. (samuelpackaging.com)